Matt's Guides!
Greetings LA Life Roleplay, today I am going to show you how to easily install skin mods for San Andreas Multiplayer.
Before you start you need an IMG editor, for this video I am going to be using Spark and always remember to backup your game files before installing any mods.
First of all, you need to download your desired skin mod, always make sure you download from a secure site.
Once you have your skin mods downloaded you want to open up your IMG editor, make sure you run it as an administrator.
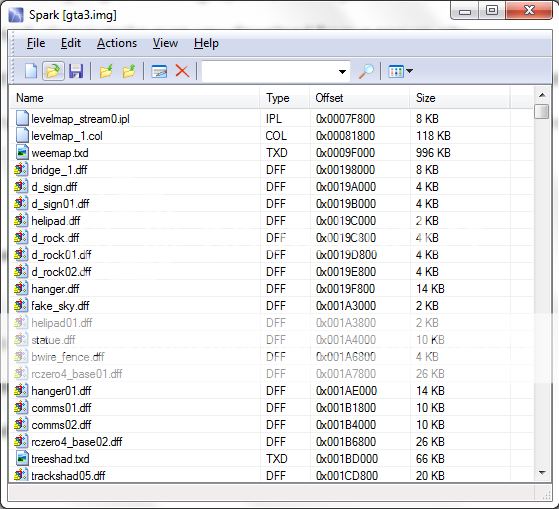
Once Spark is open (it should resemble the below image) you want to open up your GTA3.img file, located in your game files.
Do this by clicking the 'open' button.
Next you need to navigate to your game files (wherever you installed the game).
By default it is installed to either of these locations.
C:\Program Files\Rockstar Games\GTA San Andreas
C:\Program Files (x86)\Rockstar Games\GTA San Andreas
Now once you are in your game files, you want to navigate to the 'models' folder.
Now select the 'GTA3.img' file.
Okay, now you should see this in your Spark window.
And now you want to import your custom skin into your GTA3.img file.
Do this by clicking the 'import' button
Now you do the same thing you did when you located your game files but this time you are going to the location where you downloaded your custom skin to.
Once you have arrived at that location, your skin mod should have two files; a .dff and a .txd file, for example:
Now, select both those files by holding 'Ctrl' and then click 'open'
Now all you need to do is click 'save' and your custom skins should now be installed.
And that's you done!
If you have any questions or are experiencing problems, feel free to PM me or reply to this thread.